Installing a heater involves several key steps to ensure efficiency and safety. First, you need to choose the right location and type of heater suitable for your space. Next, gather the necessary tools and materials before starting the installation. You’ll then connect the heater to your existing heating system or power source, ensuring all connections are secure. Finally, test the heater to confirm it’s functioning properly.
By following these steps, you can enjoy a warm and comfortable environment in no time. Whether you’re a DIY enthusiast or hiring a professional, understanding the installation process is crucial for a successful setup.
Overview of Heater Installation Process
The heater installation process involves several key steps. These steps ensure that the system operates safely and efficiently.
Selecting the New System
You start by choosing the right heating system. Consult with professionals to assess your heating needs and budget. Consider the various types available:
- Gas Furnaces: Effective and popular for many homes.
- Boilers: Suitable for hydronic heating systems.
- Air Source Heat Pumps: Efficient and eco-friendly for moderate climates.
- Ground Source Heat Pumps: Ideal for consistent efficiency year-round.
- Electric Heating Systems: Convenient for smaller spaces or additional heating.
Each type has pros and cons. Evaluating these helps you make an well-informed choice.
Sizing the System
Sizing the heater correctly is crucial. Perform a heat load calculation to find the appropriate size. This calculation considers:
- Square Footage: Measure the total area needing heat.
- Insulation Quality: Assess insulation in walls, ceilings, and floors.
- Climate Zone: Identify how weather varies throughout the year.
Proper sizing prevents inefficiency and saves energy. An oversized unit consumes more energy, while an undersized unit struggles to heat effectively.
Gathering Tools and Materials
Collect essential tools and materials before beginning the installation. Common tools include:
- Screwdrivers: For securing components.
- Pliers: Useful for tightening connections.
- Wrenches: Required for plumbing connections.
- Drill: Helpful for making secure mounts.
Ensure you have all materials on hand. This reduces delays during the installation.
Connecting the Heater
Connecting the new heater involves several tasks. Follow these steps:
- Shut Off Power: Always turn off electricity or gas to the old heater.
- Remove the Old Heater: Carefully detach existing connections.
- Install the New Heater: Follow the manufacturer’s installation guidelines closely.
- Connect to Existing Systems: Securely attach the heater to existing heating ducts or pipes.
Proper connections ensure safety and optimal performance.
Testing the Heater
After installation, test the heater to confirm it runs efficiently. Conduct the following tests:
- Power Test: Ensure the unit powers up without issues.
- Temperature Test: Verify that the heater reaches the desired temperature.
- Leak Test: Check for gas or water leaks at all connection points.
Testing affirms that the installation was successful and the system works as intended.
Understanding these steps ensures a smooth installation process. Whether you’re a DIY enthusiast or hiring professionals, this knowledge leads to a warm, comfortable environment.
Types of Heaters
Choosing the right type of heater affects both efficiency and comfort. Here are some common types of heaters with their features and installation processes.
Electric Heaters
Electric heaters provide a convenient heating solution. They’re easy to install and maintain.
Installation Steps:
- Preparation: Turn off the electricity at the circuit breaker. Verify the power is off with a voltage detector. If replacing an old tank, drain it and disconnect the electric supply and water lines.
- Placement: Position the new heater in a drain pan. Ensure it’s level using a carpenter’s level and plastic shims.
- Connections: Install the pressure relief valve (T&P valve) and wrap its threads with Teflon tape. Connect the heat trap fittings and water lines. Make sure the arrows on the fittings point in the right direction.
- Filling the Tank: Fill the tank by opening the cold-water supply shut-off valve. Open a faucet on the highest floor. Water flows steadily, indicating the tank is full.
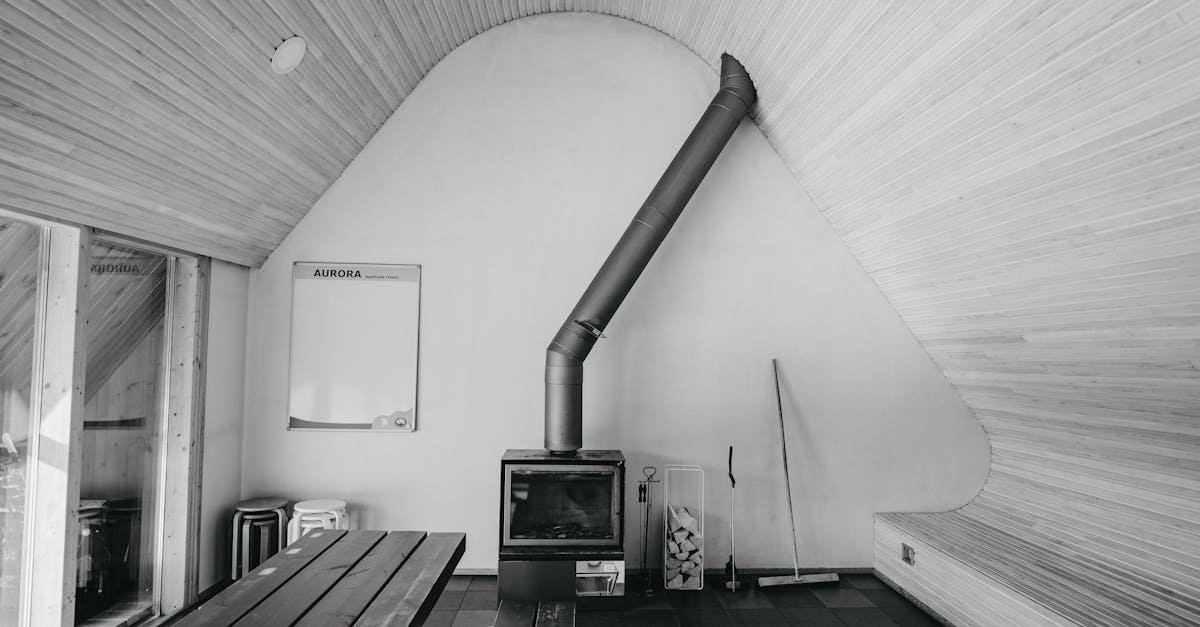
Gas Heaters
Gas heaters are popular for their efficiency and cost-effectiveness. They use natural gas or propane for heat.
Installation Steps:
- Preparation: Turn off the gas supply and electricity. Check the venting system for any blockages.
- Placement: Set the gas heater on a flat, stable surface. Ensure it’s near a gas line and properly vented.
- Connections: Connect the gas line using approved fittings. Make sure to use a gas leak detector on all connections to avoid leaks.
- Testing: After connections, turn on the gas supply. Light the pilot light according to the manufacturer’s instructions. Verify that the heater operates smoothly.
Heat Pumps
Heat pumps provide both heating and cooling. They are energy efficient and suitable for moderate climates.
- Preparation: Assess the site for adequate space and airflow. Follow local codes for installation.
- Placement: Position the outdoor unit on a stable base. Ensure it’s away from obstructions to allow airflow.
- Connections: Connect the refrigerant lines between the indoor and outdoor units. Use insulated copper tubing for efficiency.
- Electrical Connection: Connect the units to the electrical supply. Ensure all connections follow safety regulations.
Understanding these types of heaters and their installation processes can help make informed decisions, ensuring warmth and comfort in your space.
Preparing for Installation
Preparing for installation requires careful planning. Taking the right steps ensures a smooth process and successful setup of your heater.
Choosing the Right Location
Choosing the right location for your heater impacts efficiency and performance. Select an area with unobstructed airflow and adequate space. Ensure access to necessary utilities, like gas lines or electrical outlets. Avoid placing the heater in areas with excessive moisture or drafts. Keep it away from furniture or obstructions to promote proper heat distribution.
Tools and Materials Needed
Gathering the right tools and materials makes installation straightforward. You’ll need:
- Basic Tools: Screwdrivers, pliers, and a wrench.
- Power Tools: A drill and a saw, if necessary.
- Safety Gear: Gloves, goggles, and shoe covers to protect yourself and your home.
- Installation Materials: Ductwork, connectors, and insulation, based on your specific heater model.
- Manufacturer’s Guidelines: Instructions specific to your heater model to ensure compliance with safety standards.
Having everything ready prevents unnecessary delays and keeps the installation process efficient.
Step-by-Step Installation Guide
Follow these steps for a smooth heater installation process. Each stage is vital for a safe and efficient setup.
Safety Precautions
Before starting, prioritize safety. Wear safety gear like gloves and goggles. Ensure your workspace is free from clutter. Read the manufacturer’s installation manual thoroughly. Turn off power or gas to avoid accidents. Working with electricity or gas poses risks. Take precautions seriously for a safe installation experience.
Installation of Electric Heaters
Electric heater installation requires careful steps. Start with proper site assessment. Choose a location with good airflow and near power outlets. Secure the heater to the wall or floor as instructed. Connect the wiring carefully, following the electrical diagram. Make sure all connections are tight. Don’t skip filling the tank if your model requires it. Test the heater once installed. Ensure it heats correctly before leaving the site.
Installation of Gas Heaters
Gas heater installation demands attention to details. First, prepare your workspace and gather necessary tools. Position the heater in a space with adequate ventilation. Connect the gas line securely, adhering to local codes. Use a gas leak detection solution to check for leaks. Follow the manufacturer’s instructions for ignition. Test the heater to ensure it functions correctly. Adjust settings as needed for optimal performance.
Common Mistakes to Avoid
Neglecting proper ventilation harms heater efficiency and safety. Ensure adequate airflow in the installation area. Always check that vents and chimneys are correctly installed and maintained. A well-ventilated space prevents the buildup of harmful gases, such as carbon monoxide.
Overlooking the manufacturer’s guidelines leads to improper installations. Adhere strictly to the specific instructions for your heater model. Each heater comes with unique requirements, and following these influences performance and safety directly.
Failing to perform a thorough heat load calculation results in choosing the wrong heater size. Calculate the heating needs based on square footage, insulation quality, and climate zone. An incorrectly sized heater can lead to inefficiency and increased energy costs.
Skipping safety precautions can cause accidents. Always wear gloves and goggles during installation. Ensure your workspace is clutter-free. Turn off power or gas before starting any work to prevent injuries.
Ignoring necessary permits can lead to compliance complications. Check local regulations about heating system installations. Obtain the required permits for a smooth installation process.
Rushing through the testing phase can overlook critical issues. Conduct thorough testing after installation. Confirm that the heater works properly across all settings. This step ensures efficiency and safety in the long run.
Conclusion
Successfully installing a heater can transform your space into a warm and inviting environment. By carefully following the installation steps and prioritizing safety you’ll ensure optimal performance and efficiency. Remember to choose the right type of heater for your needs and take the time to gather all necessary tools and materials beforehand.
Whether you tackle the installation yourself or enlist the help of professionals being thorough in your approach will pay off in the long run. A well-installed heater not only enhances comfort but also contributes to energy savings. So take the time to plan and execute your heater installation properly for a cozy home all winter long.